 |
CRISTAL WMS
|
|
Receiving > Pallet Confirmation
Overview
The RF Pallet Confirmation program is used by sites that want to perform the check in process using a combination of the WMS Desktop Receipt Check In program together with RF barcode scanning.
The RF scanner has a tiny keyboard which is not optimised for heavy-duty data entry.
For goods with a lot of mandatory stock attributes (such as Lot No, Batch No, Production Date, Expiry Date, Item Color, Item Size etc), checking in these goods using an RF scanner will involve keying a lot of attribute information using the scanner's keyboard, which can be very cumbersome due to the tiny size of the keyboard.
Instead of typing the attributes' values on the scanner's tiny keyboard, the WMS Desktop Receipt Check In program is used to create the receipt detail information. The pallet information can be created conveniently with a full size keyboard, but these pallets are not checked in from the WMS Desktop program. Instead, the pallets are checked in from the scanner via the RF Pallet Confirmation program.
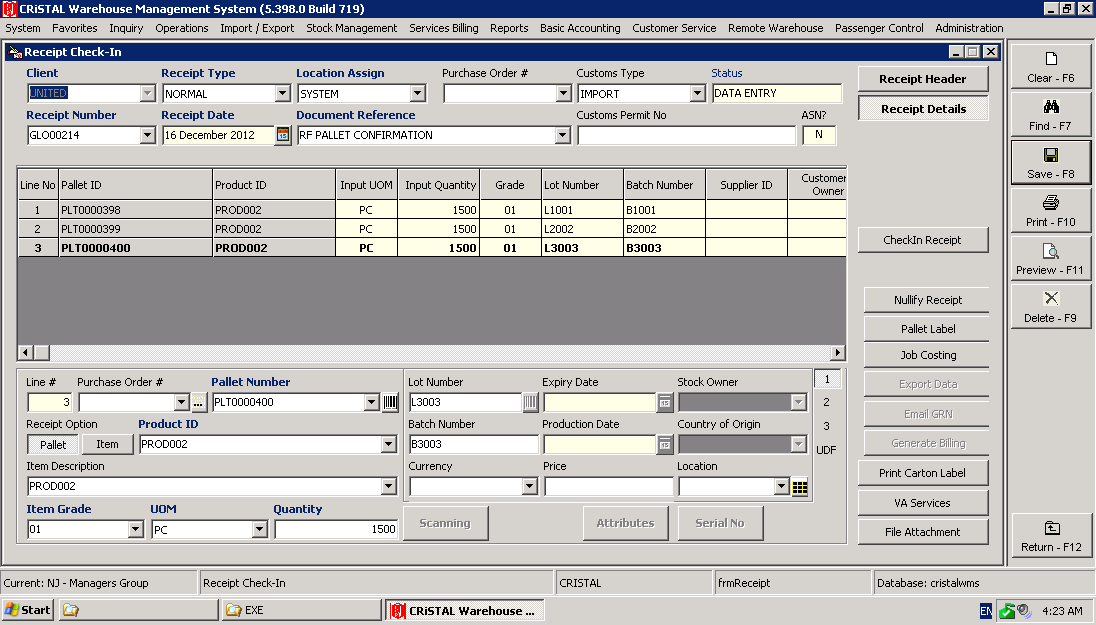
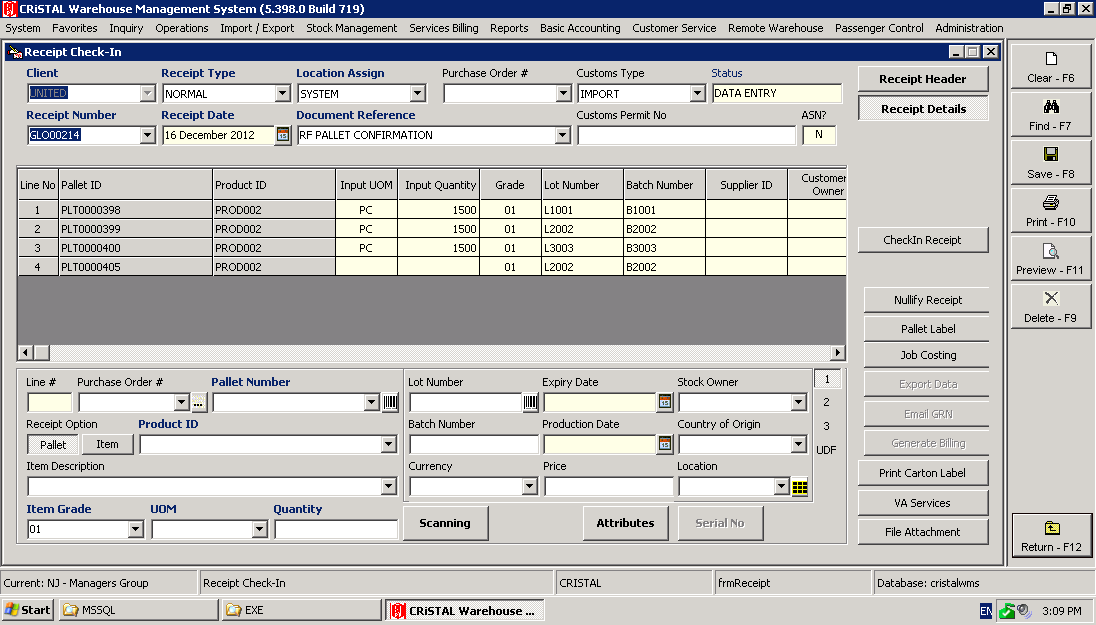
Creating Receipt Pallets from WMS Desktop Program
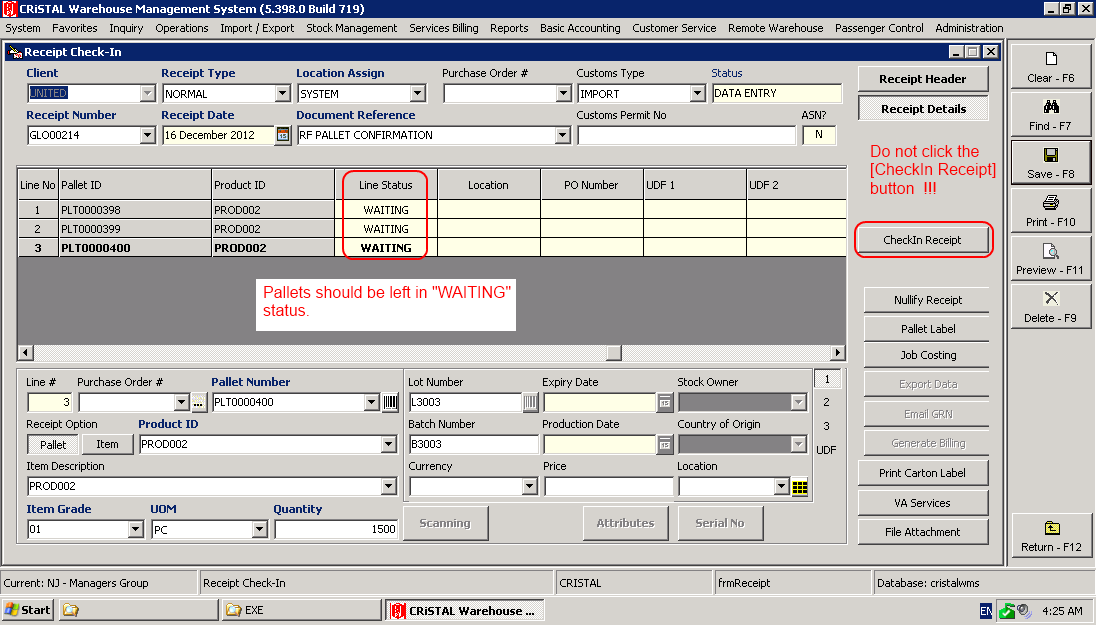
Use the WMS Desktop Receipt Check-In program to create the receipt details. However, after all receipt pallet information have been added in the "Receipt Details" page, you must not click the CheckIn Receipt button to check in the pallets.
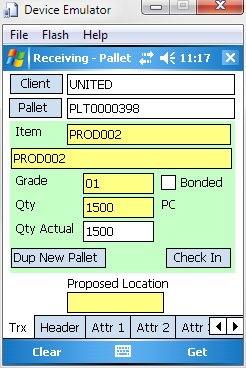
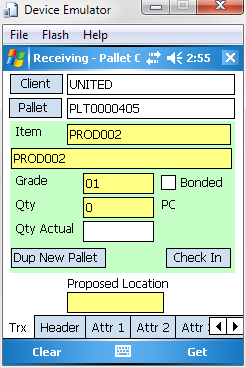
Trx Tab
The RF Pallet Confirmation program simply requires the user to input the pallet number and qty on the Trx tab to check in the pallet. All other tabs in the program are merely for informational purposes, and they cannot be used to update receipt detail records. All receipt detail records are presumed to have been entered from a desktop computer using the WMS Desktop Receipt Check In program.
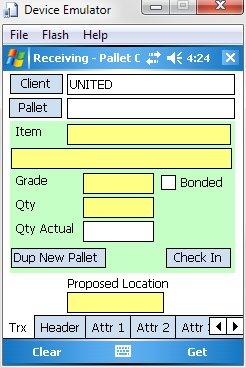
Client
Click the Client button to display and select a client from the client list.
Pallet Number
In the Pallet Number textbox, you can scan a receipt pallet that has been created but not checked in from the WMS Desktop Receipt Check In program (these receipt pallets are in "WAITING" status).
Click the Pallet button to display and select from a list of receipt detail pallets that are in "WAITING" status.

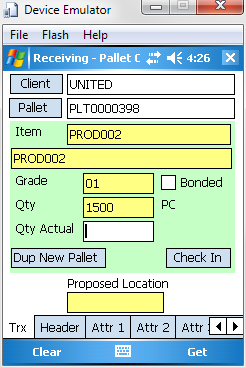
Qty / Qty Actual
The Qty field shows the qty entered from the WMS Desktop Receipt Check In program. However, when the operator is physically checking the incoming goods, the actual qty counted may differ. The actual qty should always be entered in the Qty Actual textbox.
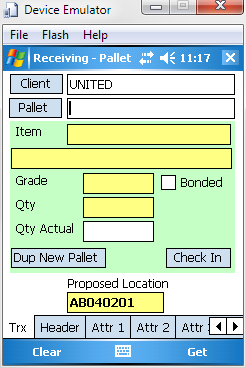
[Check In] Button
Click the Check In button to check in the pallet. If successfully transacted, the textboxes in the Trx tab will be cleared in preparation for the entry of the next receipt pallet number, except for the Proposed Location textbox which will be filled with the proposed putaway location for the pallet that has just been checked in.
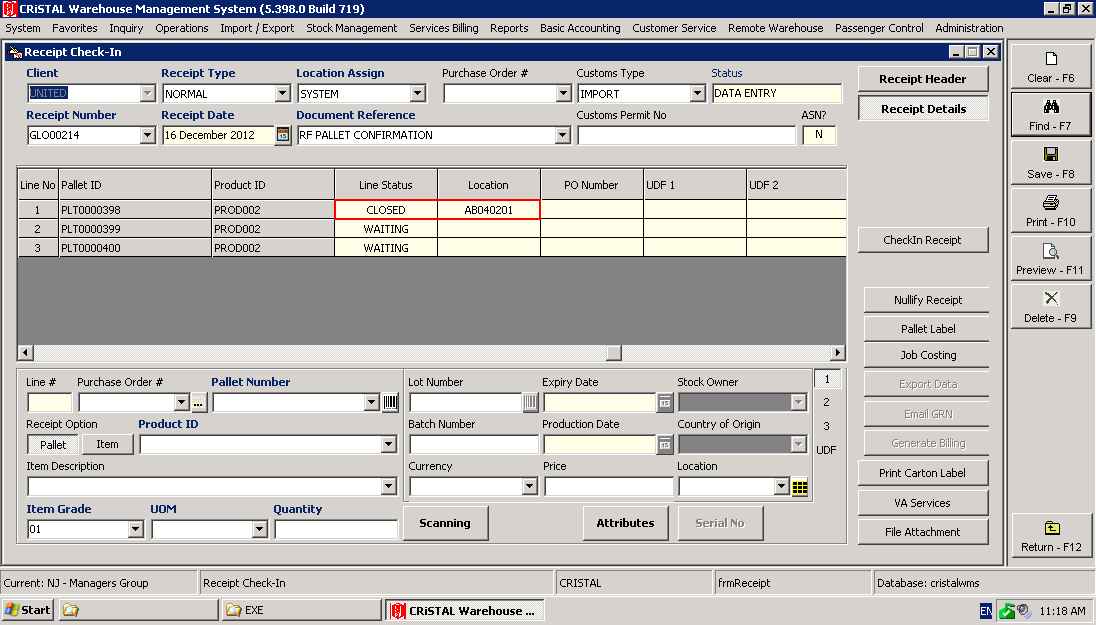
If you were to check from the WMS Desktop Receipt Check In program, you will see that the receipt pallet has been changed to "CLOSED" status.
[Dup New Pallet] Button
The Dup New Pallet button is created because when users create the receipt details from the WMS Desktop Receipt Check In program, they would not have taken into consideration "extra" qtys that have been added to the shipment by the supplier.
For example, consider a supplier who is supposed to ship 1500 pieces of an item as per a purchase order. However, because some pieces may be damaged on shipment, the supplier may throw in a few extra pieces with the shipment to cater for such damaged units.
For these "extra" units, users have 2 choices of action.
- Add the extra units into the Qty Actual
textbox for one of the pallets
- If (1) is not physically feasible, place the extra units on
a new pallet and check in the new pallet.
The Dup New Pallet button provides the capability for the 2nd action.
You must first retrieve the details of a pallet in the Trx tab.
(If all pallets have been checked in, and clicking the Pallet button does not return any pending pallets, you can simply type an existing pallet number in the Pallet Number field and press the Get menu button.)
Once the pallet record has been retrieved in the Trx tab, click the Dup New Pallet button.
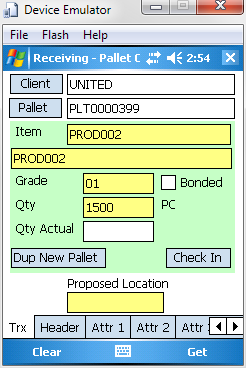
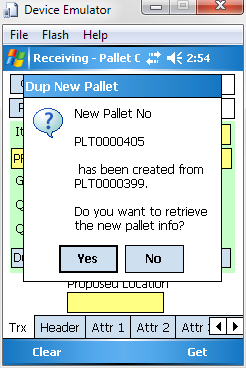
Answer Yes to retrieve the newly duplicated pallet record into the Trx tab.
If you run the WMS Desktop Receipt Check In program, you should see the new newly created pallet in the Receipt Details page.
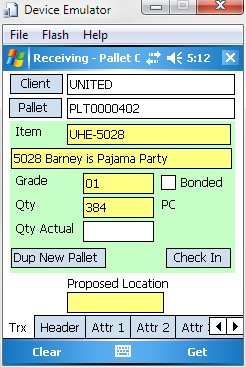
Informational Tabs
When a pallet's record is retrieved on the Trx tab, all other tabs in the RF Receiving - Pallet Confirmation program will show the receipt details of the pallet.
Note: The subsequent screen captures of the information tabs are taken for this pallet:
Header Tab
This shows the Receipt Header information.
If there is a purchase order number specified in the receipt, the PO number and PO line will be shown in the PO # textboxes.

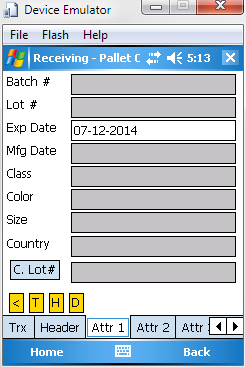
Attr 1 Tab
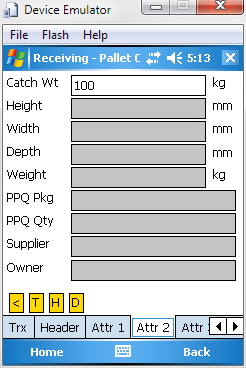
Attr 2 Tab
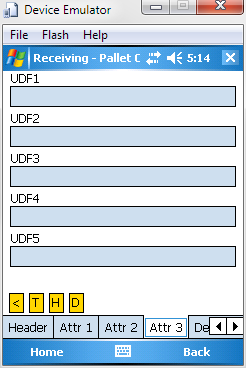
Attr 3 Tab
Details Tab
Note that the Details tab shows just the Receipt Details information for the specified pallet on the Trx tab. The details of other pallets for the receipt are not shown here.

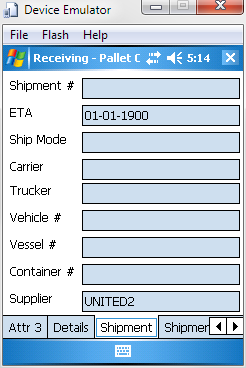
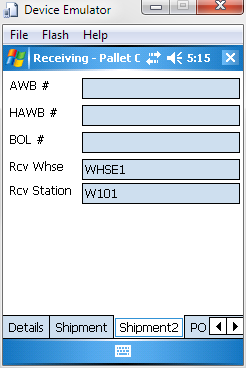
Shipment Tab
Shipment 2 Tab
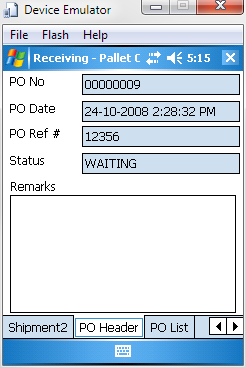
PO Header Tab
If the receipt has an associated purchase order, the PO number will be shown in the Header tab's PO # textbox. The PO Header information will be shown in this PO Header tab.
PO List Tab
The PO List tab shows all details of the PO specified in the PO Header tab.
